Lamenting about “The Myth of Computer Perfection” provides little solace when you find yourself its victim. Carefully designed safety measures and contingency plans may prove woefully inadequate when you need them most. We get into trouble because we believe that computers are smarter than they really are (or that we are smarter than we really are). However savvy a user you may be, computer technology will eventually subject you to the daunting challenges of a significant malfunction or failure. Over 50 years of programming, troubleshooting and using computers, I have developed layers of backup strategies and contingency plans to prepare for the inevitable. Yet somehow, when the magic moment arrived, it only pointed out the inadequacy of those plans. This narrative describes my efforts over the next month to recover.
(Note: Aside from acknowledging that these events took place on a PC running Windows 10, this diatribe does not identify particular products. A myriad of software and hardware combinations would have produced comparable results. The narrative merely describes one long-time user’s experience and frustrations in responding to unexpected disaster. And how the best laid plans.…)
One fateful day, my primary computer (a notebook) refused to boot. Instead, it flashed a “blue screen of death” warning of a failure in the NTFS file system and that the computer was entering an auto-repair and reboot cycle. That activity produced another blue screen declaring a FAT file system failure, sending the system back into diagnostic mode. It cycled, again displayed the NTFS failure and so on in an endless loop. It got no further.
First—Do No Harm
Such disturbing occurrences demand above all following the sage advice emblazoned on the front cover of The Hitchhiker’s Guide to the Galaxy—DON’T PANIC! Your number one priority? Do nothing that will make matters worse. Second? Find out what still works—and why. If you can manage to boot the computer—even into “safe” mode—you can take advantage of some of its diagnostic tools. A “hard boot” (holding the power button down until the computer powers off) resets many software and hardware flags and allows restarting from an “off” state, which by itself sometimes solves the problem. Unfortunately, my every attempt to get into the system produced the same cycle of errors.
- The hard drive could be completely unusable and would need replacement, and
- I’d have to recover the disk’s contents from backup copies.
Seek Expert Help
Before going any further, consult an expert, either from your IT staff or the computer-maker’s or other reputable customer-service operation. Let the person know what you’ve done to avoid repeating tests to discover what you already know. I called the manufacturer’s help desk that I had dealt with in the past. (If the person you talk to appears to know less than you do, request another technician or a supervisor. That step frees up the first-line person to help someone else, reduces the level of aggravation and will more likely yield a satisfactory solution.)
Of course, my technician ignored my protests, duplicating steps I’d already taken, but he did continue on to more advanced tests. They came to the same conclusion. The hard drive, with all of the software and data files that I couldn’t live without, failed all the tests.
Still trying to rescue files from the apparently dead drive, the technician had me insert a USB thumb drive into another computer. He downloaded files that configured it into a bootable disk. Plugging the thumb drive into the dead computer and changing the boot order (in the same pre-boot menu that contains the hardware tests) so that it booted up onto the USB drive couldn’t detect the hard drive or any of its contents. The verdict was in. The hard drive was dead, Jim. Rather than replace it with another spinning disk drive, I opted for a solid-state drive (SSD) despite its cost to take advantage of its higher speed. Also, because it has no moving parts, I expected it to draw less power, extending battery life.
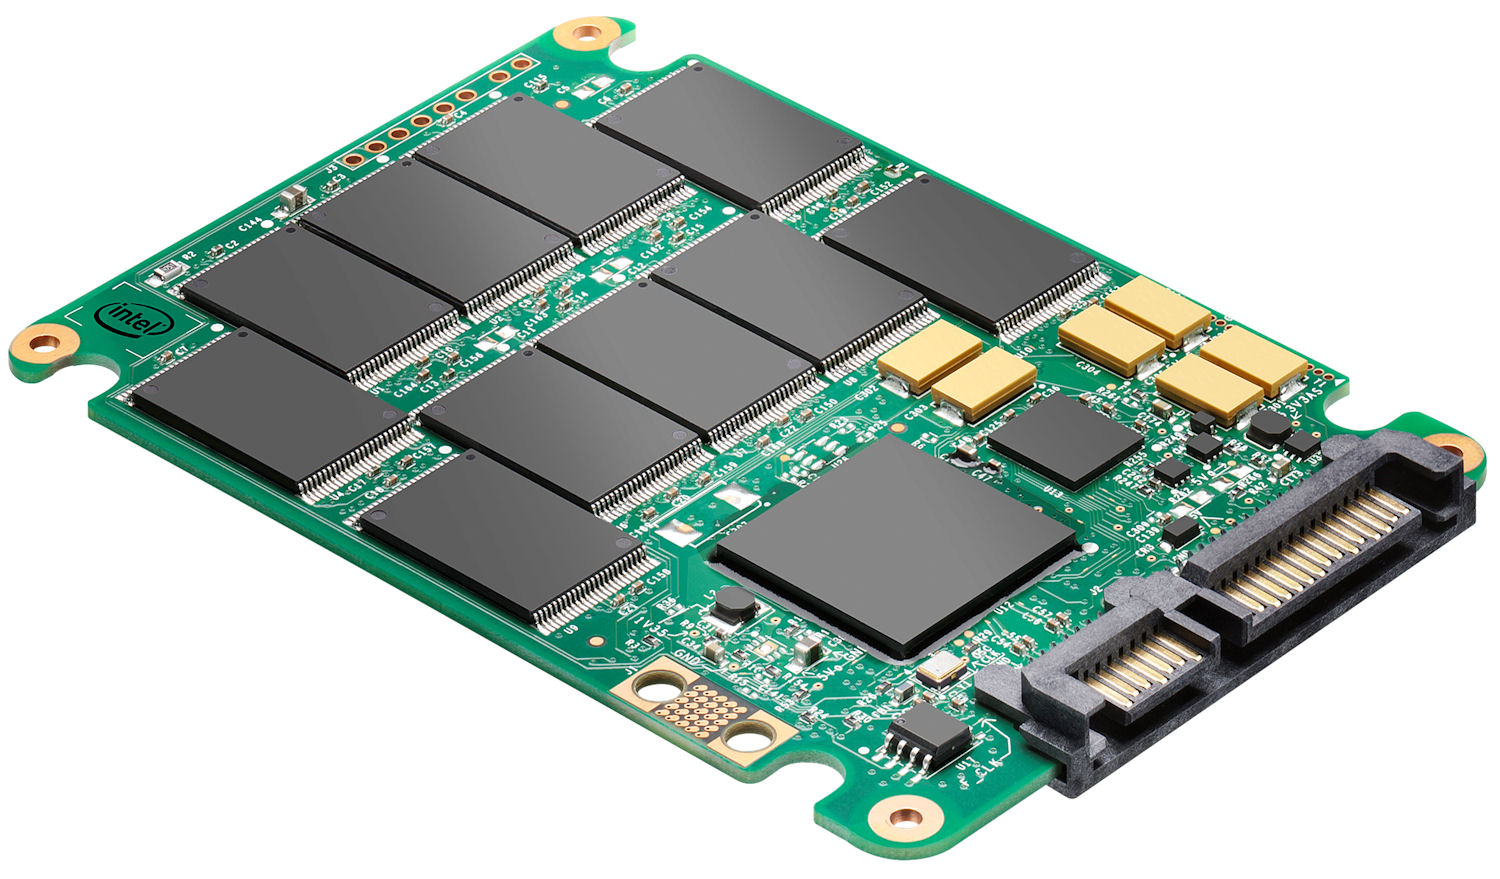 Figure 1. Replacing the hard drive with a solid-state drive speeds up disk access and may lengthen battery life
Installing a notebook hard drive isn’t difficult, but it requires some care. If you’ve never done it—and even if you have—take advantage of the myriad “geek videos” on the internet that show you how to do it step-by-step. The drive often resides in a compartment behind a small panel on the bottom of the computer. Remove it and swap the old drive for the new one, carefully connecting the associated ribbon cables (making sure not to disconnect any of the other cables). Since my computer contained no such compartment, I had to remove the entire bottom panel. Replacement proved cumbersome, and the number of screws that needed removing seemed more than excessive, but the installation went relatively smoothly. The video proved extremely helpful.
 Figure 2. Most laptops have a compartment in the bottom panel for access to the hard drive.
Installing Windows and Other Software
If you have a “ghost” image of the computer created in better times, install it, taking particular note of its date. Without access to a ghost image, I had to reinstall everything from scratch.
The dead computer had come with Windows 7. I had those disks, but not for Windows 10, which Microsoft had offered as a free upgrade. Unfortunately, the downloaded version of Windows 10 did not come with a product key (at least not without interrogating the dead drive). With the new drive securely in place, the technician instructed me to install Windows 7 from the original disks, and they would (again) perform the upgrade. Aside from the time required—including locating the disks, running them and installing the necessary updates, then repeating that step for all of the software that had resided on the dead drive—that part of the recovery proved relatively painless.
The last act in this little play involved restoring the data files. With the greatest of optimism, I plugged the old hard drive into an enclosure that connected to the computer through a USB, hoping to resurrect at least some of its contents. The computer wouldn’t even recognize the drive. The only alternative lay with the backups.
For many years, I handled backups manually, keeping track of folders containing updated files continuously and backing up frequently, rarely losing anything in the process. Backup copies were rarely more than a few days old—sometimes inconvenient, but never fatal. Unfortunately, keeping track of the files became too difficult, so several years ago I introduced a well-respected backup tool and carefully constructed a regimen that would keep all the backups up to date. The restoration proceeded without a hitch.
Or so I thought.
Checking the disk contents revealed that critical files and whole folders had simply vanished. Some files that did show up were months out of date, while others had backed up correctly.
Locating and restoring as many missing or obsolete files as possible from alternate sources reduced the size of the problem. Anything sent or received by email or that otherwise came through the cloud remained retrievable. Some files and folders didn’t show up anywhere. Reconstructing them would happen as necessary on a case-by-case basis.
Preventing repetition of a hassle-filled month-long recovery required asking, why didn’t all the files back up as expected? Backing up into the cloud rather than on a local computer wouldn’t have helped. The computer selected files for backup based on my instructions, whatever their backup destination.
The days that followed consisted of a long series of test backups and restores to reveal why certain files backed up properly while others didn’t. The details of that investigation don’t matter, other than acknowledging a stress level that would challenge a Hindu master. The solution turned out to exemplify the First Law of Computing: “Computers are stupid, they are just fast. And sometimes they’re not fast.”
If you allow software to name your files, or if you name them once and never move or rename them or the folders they reside in, the backup logic will likely catch everything you need. But if you rename files or folders in Windows or relocate them for your convenience, the backup software will not automatically recognize them.
For example, if you have a folder named “ESSENTIALS” under a folder named “THEPROJECT” and you instruct the computer to back up THEPROJECT, everything works. ESSENTIALS and the files and folders it contains back up correctly. If you change the subfolder name to “AAESSENTIALS,” the result is more complicated. The instruction to back up THEPROJECT will not recognize AAESSENTIALS as the same folder, but it still resides inside THEPROJECT, so it will back up correctly. The previous copy of ESSENTIALS will remain as part of the backup, complete as of the day you changed its name. On the other hand, if you told the software to back up ESSENTIALS, it will not back up AAESSENTIALS because AAESSENTIALS was not one of the folders you requested. Result? The backup will miss any new or revised files or folders under the folder’s new name. It therefore may not contain items critical to disaster recovery. So if you rename files and folders to make their names more useful to you, make sure to edit the “what” in the backup list to reflect your changes, and always check the backup folders to be sure that the process has not missed anything that you may need later.
How often will you encounter these kinds of problems? The truth is, you may never need the tools or the steps described here. But if you do, my experience may help reduce your losses—and the pain they cause.
