Home automation was once very expensive and required a professional installation. With the introduction of user-installed devices as well as the ability to create custom devices, it is now well within the reach of just 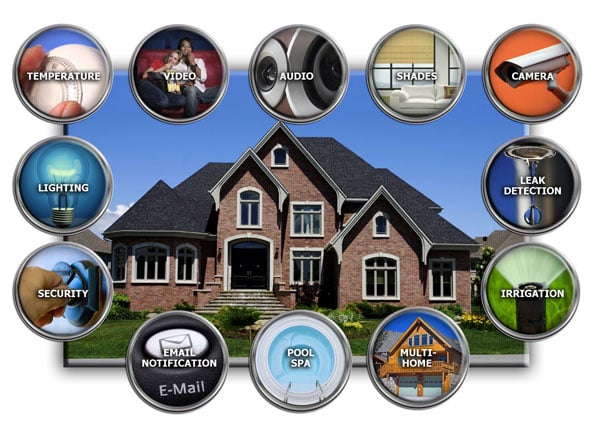 Source: Mark Moz CC BY 2.0-about anyone.
Two Ways to Play
There are two levels of DIY when it comes to home automation. The less involved method is to purchase ready-to-use components like thermostats and voice assistants that work together. The more advanced DIY method is to build these components, either of your own design or by following what others have done. While both methods work, the second will allow for more customization and control, as well as headaches. The first method is not headache-free either, as getting various components to connect and talk to each other may not be a trivial task. Most components will communicate via a wireless method, which eliminates the need to run extra wires, but can also be a hassle to get working.
Some examples of components that are typically automated include thermostats and hydrometers, security cameras and door access, entertainment including TV and audio and ambiance controls like lights and window shades.
Plug It In and Set It Up
Components that work together can be purchased, such as an Amazon Alexa or Google home, as well as thermostat products like the Nest brand, which has a security camera and other options. In some cases, these can integrate with a smart TV or a device like the Firestick. For lighting control, wireless outlets and switches from companies like GE and Insteon will work. These systems are often linked with a computer or smartphone for control. Many of these devices use Wi-Fi, Bluetooth or Z-Wave to communicate wirelessly.
Program Your Own
To follow the more involved DIY method - rather than using devices manufactured with a specific purpose - small computers like the Raspberry Pi and microcontrollers like the Arduino are used in concert with various sensors and outputs. This method, while complicated, is often less expensive depending on what the user wants. These devices need to run code that is specific to the application, but in many cases a DIYer can simply download open-source code that others have written. Examples include thermostat projects such as the Hestiapi or a smart home hub with software like Domotz. Sensors for measuring temperature and humidity like the dht22 easily integrate with the Raspberry Pi or Arduino. Turning lights and appliances on and off can be done with various modules like Sonoff or can be built using a Wi-Fi board like the ESP8266 that can be programmed like the Arduino. It is possible to add a camera to the Raspberry Pi to create a smart camera for security. Many have also loaded Amazon’s Alexa or Google Home Assistant onto a Raspberry Pi. Using this technology, it is possible to create custom smart devices, such as a smart mirror, that give you weather and news as you get ready in the morning. While a lot more work, the one benefit to this homegrown method is the ability to create something unique and customize it.
Whichever way you decide to automate your home, an ever-growing an array of devices is available. If the device you want isn’t available now then you can always choose to create it, as all the tools to do so are available for the avid DIYer.
